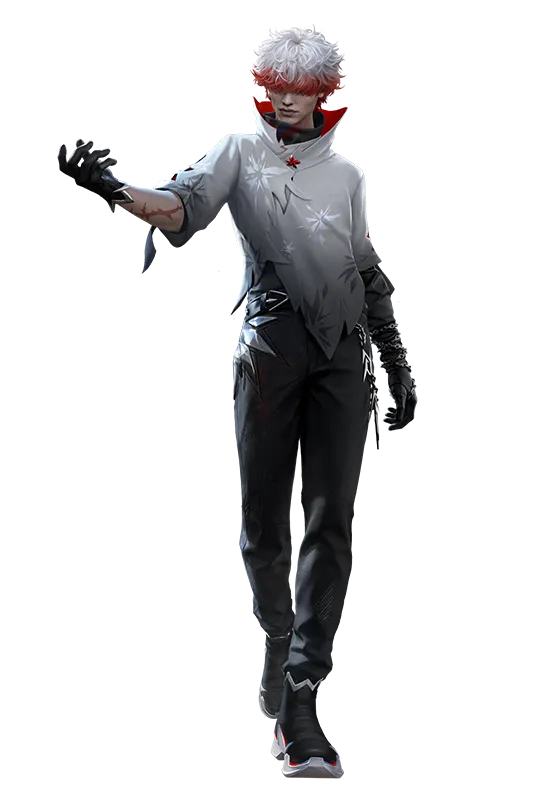
Hello friends! The new Free Fire character Nero may seem a bit complex, but if you use it the right way, it’s a lot of fun to play. Use Nero like A124, drop it wherever you want by aiming in the right direction, and it will deal automatic damage to the enemy. Its plushie (the blue one) gives 8-8 damage continuously and lasts for 12 seconds. If Nero’s skill hits you by mistake, you won’t be able to use a glue wall, so use it carefully.
Today I’ll tell you the 5 best Nero combinations. Each combination has been tested in-game. Try whichever you like. Let’s start from number 1!
Combination 1: Nero + Moco + Maro + Hayato


- Nero: 8-8 damage from the plushie.
- Moco: Reveals which player got damaged.
- Maro: Deals 25% extra damage to the marked player.
- Hayato: Increases armor penetration.
How to use?
Release Nero like A124. Use Moco to see who got damaged. Use Maro for extra damage. Hayato helps break armor.
In-game result: Plushie kept giving continuous damage. Nero worked well even in peak fights. The enemy couldn’t place a glue wall. Great damage output overall.
Combination 2: Nero + Ford + Kairos + Rin
- Nero: Plushie damage.
- Ford: Restores 30 HP in 3 seconds (after update).
- Kairos: Extra damage when EP is full (a bit less now, but still useful).
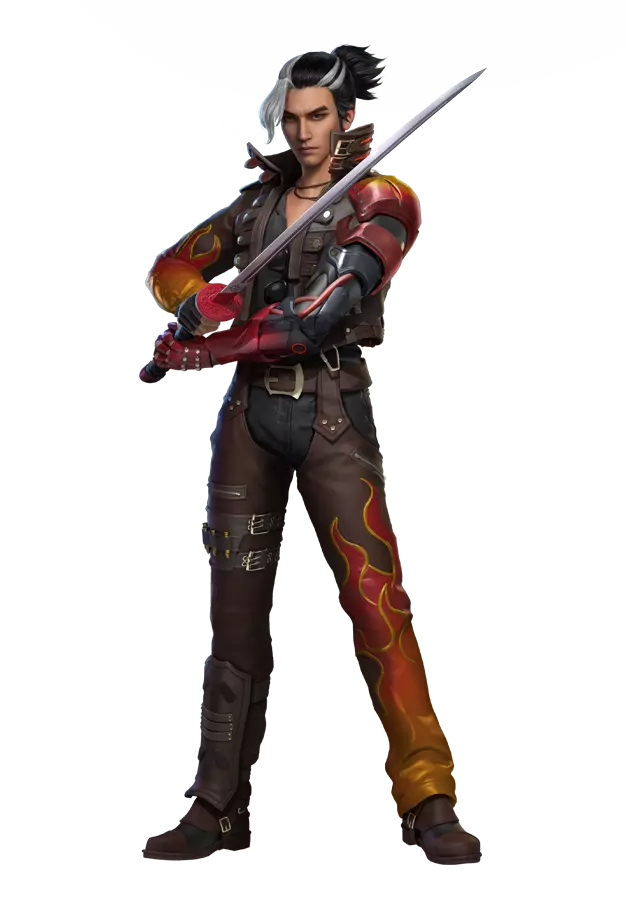
- Rin: Accurate kunai hits, strong damage.
How to use?
Drop Nero in places like Clock Tower. Heal with Ford. Deal EP-based damage using Kairos. Use Rin for precise kunai hits.
In-game result: Nero damaged multiple enemies. Even those on higher ground were hit. Rin’s kunai is more accurate now. Ford’s 30 HP recovery helped. The combination worked great.
Combination 3: Nero + Rin + Wolfrahh + Hayato
- Nero: Plushie damage.
- Rin: Accurate kunai.
- Wolfrahh: Boosts headshot damage + protects from enemy headshots.
- Hayato: Armor penetration.
How to use?
Release Nero like A124. Throw Rin’s kunai. Focus on headshots using Wolfrahh. Hayato helps with armor breaking.
In-game result: Dropped Nero between Clock Tower and Bimasakti. White symbols showed damage markers. Rin + Wolfrahh gave crazy headshot damage. Full squad wiped out. Nero + Rin is a beautiful combo.
Combination 4: Nero + D-Bee + Luna + Rin
- Nero: Plushie damage.
- D-Bee: Improves accuracy.
- Luna: Boosts rate of fire and movement speed.
- Rin: Accurate kunai.
How to use?
Use Nero normally or like A124. D-Bee improves aim. Luna increases fire rate. Rin for precise kunai hits.
In-game result: Nero gave 8-8 damage to knocked players. Also hit reviving enemies. D-Bee’s accuracy was top-notch. Luna boosted fire rate. Plushie gave up to 150 HP damage. Breaking the blue plushie cancels it. Enemies were easily eliminated.
Combination 5: Nero + Leon + Jota + Ford
- Nero: Plushie damage.
- Leon: Restores 60 HP.
- Jota: Gives 30-50 HP after knocking an enemy.
- Ford: 30 HP (in 3 seconds).
How to use?
Drop Nero near the enemy (not far). Use Ford for HP, Jota for HP on knock, and Leon for extra recovery.
In-game result: The combo depends entirely on HP. If Nero’s skill hits you, you won’t be able to place a glue wall, so use it close to the enemy. It caught enemies sneaking from behind. HP remained full. Best for survival.
Important Tips for Using Nero
- Use Nero like A124, aim and release in the desired direction.
- The plushie deals up to 150 HP damage and appears blue.
- If Nero hits you, you can’t use a glue wall for 12 seconds.
- Always release it close to enemies, not far away.
- Finish damaged players quickly, or they’ll heal with medkits.
- Nero also damages players who are reviving, a good strategy.
Friends, Nero is a very powerful character. Choose your favorite from these 5 combinations and practice. If you liked this guide, tell us in the comments and don’t forget to share it with your friends. You can also follow us on social media. Thanks.