Today, I’m going to talk about the top 4 PC emulators in this post, and in my opinion, all four emulators are excellent. It depends on your criteria and PC as to which one would be the best for you. I believe the one that works best for you is the top one, and the rest three wouldn’t serve your purpose.
1. LDPlayer
The first name on the list is LDPlayer. It’s a popular emulator, and you might have heard about it. If not, I’ll give you a brief about it, and then I’ll discuss its pros and cons.
There are two versions of this emulator, LDPlayer 9 and LDPlayer 5. I recommend LDPlayer 9 to you and will discuss its features.
It runs very smoothly. Games run very smoothly here. You get a higher FPS (140-150). One-tap controls work very well.
If you play games on BlueStacks or MSI, it will run very smoothly here. What I found good here is its one-tap feature. If you’re a low-sensitivity player who accurately uses one-tap, then this is the best for you. Its accuracy is better than other emulators. If you want to use one-tap, in my opinion, this is the best.
But if you are a high-sensitivity player, you might not like its one-tap feature, or your sensitivity might not work well. This emulator is for low-sensitivity players who prefer one-tap and want smooth gameplay, and its system requirements are not that high. Below are the PC requirements for this emulator:
LDPlayer Requirements
| Component | Minimum Requirement |
|---|---|
| Processor | Intel or AMD CPU |
| RAM | 4GB RAM |
| Storage | 36GB+ HDD |
| Graphics | NVIDIA GeForce or AMD Radeon |
| Operating System | Windows 7/8/10 |
In this emulator, players don’t get much chance to customize sensitivity. You only get two sliders to set sensitivity, Y-axis, and X-axis. Apart from this…
- Gamepad sensitivity cannot be changed.
- Tweaks cannot be added.
- Or any other way to customize sensitivity.
However, despite this, the one-tap feature in it feels very good. So, the sensitivity that should be used here is y64, and x is 43. And I’ll also tell you the emulator settings that will give you the highest FPS.
If you have a mid-end PC, you can keep the resolution up to 900 pixels. Also, keep the recommended CPU and RAM. After that, especially if you want 120fps and the highest FPS, you should choose rog2 as the phone model.
Along with that, you need to go into the game settings and set the frame rate to the highest, which is 240fps. If even after that, it lags, you can try 120 or 144fps.
2. MSI App Player
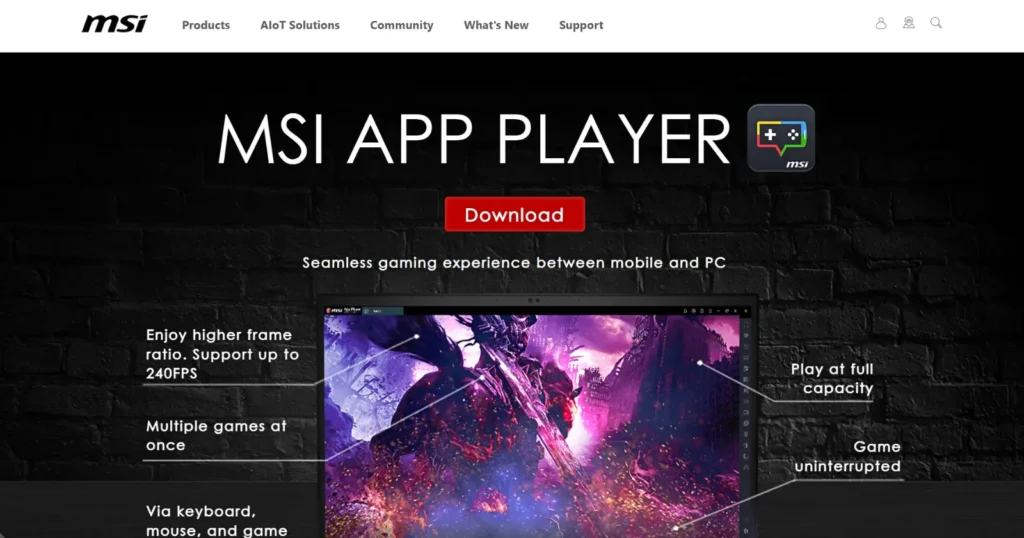
MSI App Player is quite a famous emulator and has a specific version considered best for Free Fire, which is 4.240.15.6305. This version runs the best and many top YouTubers like Vinces, b2k, and NBN use it. Finding this version can be a bit hard online, so you can download it directly from the link provided below.
Now, let’s discuss what makes this version so special and its unique features.
The most special thing here is the headshots. Headshots work very well in this selective PC. If your PC suits the MSI4 player, the headshots look very good for you. And if you’re a BlueStacks player and experience lag, then MSI Player is the best alternative.
Because all the customizations available in BlueStacks are also found in MSI Player, and you might get as much FPS as LDPlayer, but here, the game won’t lag at all; you’ll easily get 60 FPS if you have a mid-end PC. Mostly, people play on MSI for its headshots.
But MSI4 has a major problem that you should know about. It crashes and freezes at times. So, you can’t rely on this emulator, and that’s why BlueStacks is more famous here, and many people use BlueStacks.
x is set at 2.5. y is set at 2.1, and the tweaks I use are 808016450. Regarding emulator settings, you should use a resolution of 1080 and a dip of 320. The device model to use is the rog2.
MSI PC Requirements
| Component | Minimum Requirement |
|---|---|
| Processor | Intel/AMD Processor |
| RAM | 2GB RAM |
| Storage | 5GB+ HDD |
| Graphics | Integrated/Discrete |
| Operating System | Windows 7/8/10 |
3. Memu Player
This emulator is especially for low-end PCs. Its FPS is very good, and it runs very smoothly. When you play games on it, you’ll notice the difference in FPS.
The second best thing about it is its one-tap feature. One-tap feels the easiest here. I won’t say it’s the best here, but it’s the easiest. I mean, even if you’re not very good at one-tap, you’ll find it easy here. If you enjoy one-tap, this emulator is perfect for you, and it also works very well on low-end PCs. So, you guys should definitely try this emulator; you’ll get good FPS, and you’ll experience the smoothest gameplay.
You can’t customize sensitivity much here; you only get two sliders for x and y sensitivity. Apart from this, you don’t get DPI or tweaks. Not having many settings is a major drawback of this emulator.

Memu Player PC Requirements
| Component | Minimum Requirement |
|---|---|
| Processor | Intel/AMD Processor |
| RAM | 2GB RAM |
| Storage | 2GB+ HDD |
| Graphics | Any |
| Operating System | Windows 7/8/10 |
Also Read…
Play Free Fire Bermuda Max Map Now – Unlock It Using Craftland Code
Free Fire Online Play: Play Without Downloading Now
Free Fire Name Change Card: Get Free and Change Your Nickname
4. BlueStacks
Our last emulator is BlueStacks. Any list of best emulators can’t finish without BlueStacks; it’s the most famous and widely used emulator. It’s considered the most versatile and powerful emulator available. If there’s any emulator that stands out, it’s BlueStacks, and specifically, the 4.280.1.1002 version is preferred as the best.
This version might not be optimized for your PC, but for many users, it’s highly optimized, so there’s a high chance it will run well on your PC too. So, if you want to download this version, you can easily find it online.
If you have a high-end PC and don’t face any lag issues, you can blindly use BlueStacks, and I highly recommend trying the specific version I mentioned.

BlueStacks PC Requirements
| Component | Minimum Requirement |
|---|---|
| Processor | Intel/AMD Processor |
| RAM | 2GB RAM |
| Storage | 5GB+ HDD |
| Graphics | Intel HD Graphics |
| Operating System | Windows 7/8/10 |
I hope you found the information about these Top 4 Emulators helpful. You can freely download any of these emulators according to your PC’s requirements and play the game Free Fire for free within them.

